
Air Flow and Filtering Mods |
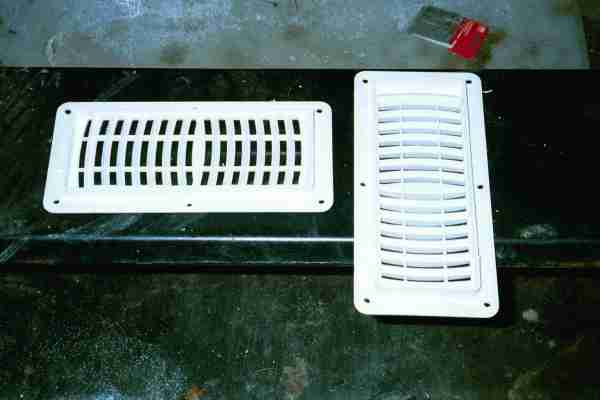
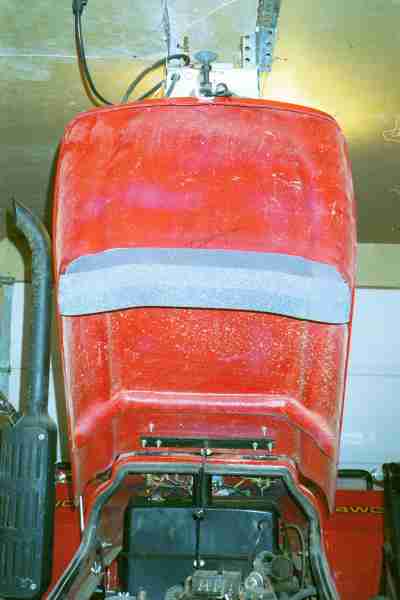
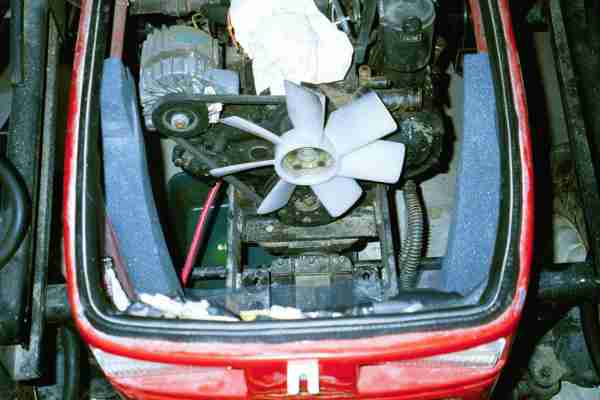
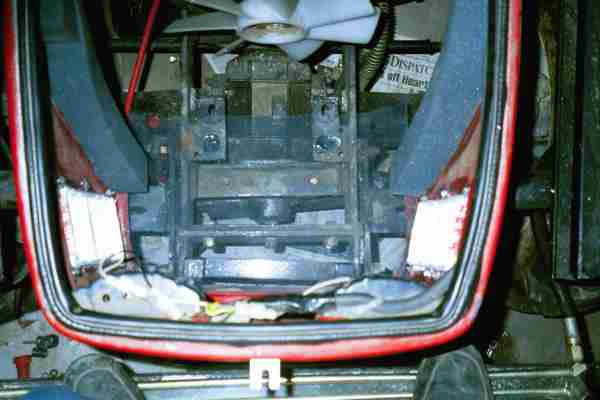
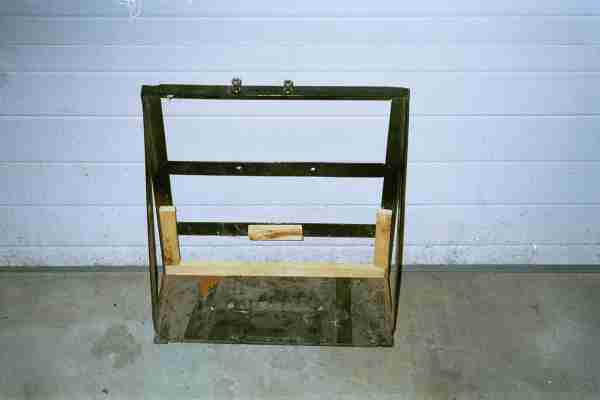
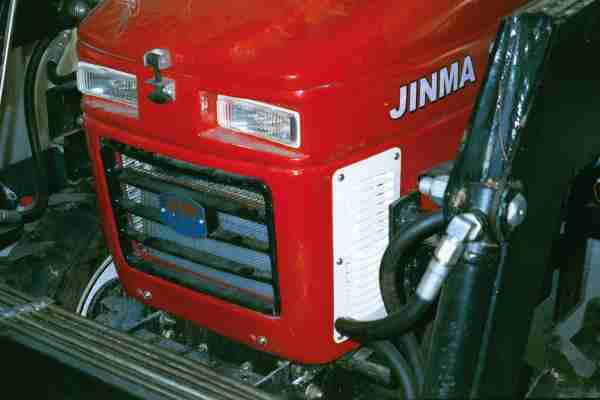
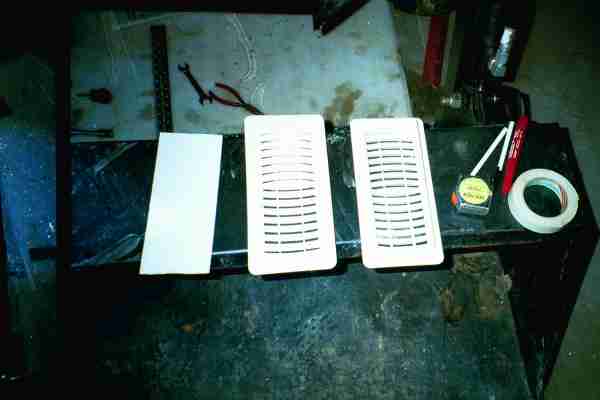
While rotary cutting, last year, I experienced what other Jinma owners had reported, clogging of the radiator. The act of cutting high grass puts allot of seed and small debree in the air that gets drawn into the radiator fins. You see the temperature start to slowly rise, and eventually will run upto 100 degree C. You can not clean the radiator effectively while it is in the tractor. You must remove it and clean it under a high pressure hose, like what is found at a car wash. You will be amazed at how much stuff will come out and how long it will take to clean. Since I had to remove the radiator for cleaning, decided to do some mods that would help prevent it, plus provide better cooling. My main thoughts and objectives were to provide better filtration, increase the amount of air coming into the nose of the tractor, and prevent suck back of hot radiator/engine air. The radiator filter screen is too large to prevent grass fuzz from entering the radiator. To prevent that, I performed Norm's Radiator Screen mod which is found on the Mods page. It does require much more frequent cleanings. I decided to add additional air vents in the nose. After looking at a number of ways to do this, decided on using 4" X 10" plastic floor vents. They look fairly decent plus have the ability to be opened and closed. Above you see the pair of vent I purchased plus a cardboard cut-out template. The vents themselves need to be modified. You need to drill mounting holes, plus cutback the recess on the vents. The floor vent recess is for normally going through your plywood floor boards. The Jinma cowling is only about 1/4" thick, but you want to make sure you have enough vent material to still activate the slide that opens and closes it. Removing the recess gives more room around the battery tray. I tried to pick the flatest side of the nose plus keep it looking half way decent. Carefully marked and used masking tape to prevent finish damage. I used the cardboard template to mark the cut-out. Drilled two pilot holes and used a sabre saw to cut out. Careful, it will create allot of white dust. Once the vent has been fitted to the the hole, drilled the six mounting holes. Here is a shot of both holes cut and mounting holes drilled. I used stainless steal hardware for mounting. And here is the left side. I couldn't find black colored vents, but this white matched pretty well. The battery sits right in front of the radiator, and rather tight as that. To help improve on that, I added some space block to the battery tray. I used some 1/2" pine I had laying around, and siliconed it to the tray. Note: I latter removed the two verticle strips, and overlapped to have a total of 1" clearance. The battery lockdown arms were replaced with longerJ-hooks, from the hardware store. When mounting the battery tray, there is some play to work with. Keep it as forward as possible of the radiator. I bought a couple packages of air conditioner window foam seal. It is about 2 1/2" X 2 1/2" X some length. Using some good spray adheasive, I mounted the foam, in two layers on the bottom of the hood. It is the correct position to form a seal over the top of the radiator. This should help prevent any hot air suck back from just under the hood. I added some window screening to the front of the nose to help prevent grass from getting sucked up. Also added foam to the sides to help prevent grass and hot air suck back. This does not form a good seal, but might provide some benefit. Also note to wire tie the headlight wires tightly out of the way. It helps make battery removal a little easier. Another shot of the side foam. Testing: So far we have had a very wet spring and early summer. I have only been able to mow a few acres. While mowing the temp never made it to 80 degree C, but the real test will be on some hot summer days, and a long 3-4 hour mowing period. JohnS |

