JINMA FIBERGLASS HOOD TILT PROJECT |
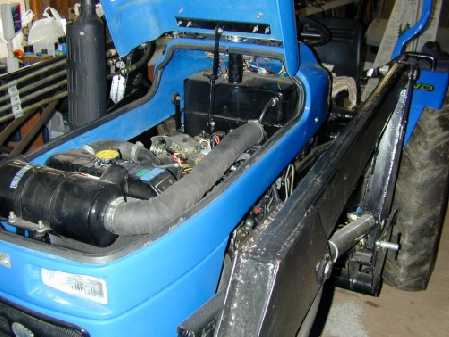
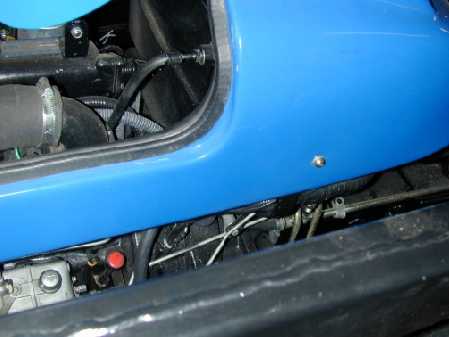
When my tractor was delivered, it was equipped with the fiberglass hood which had the top part that raised but the bottom part was permanently mounted to the tractor. This made it difficult to reach certain parts of the engine bay for service and nearly impossible to reach the battery. Here are before & after pictures. |
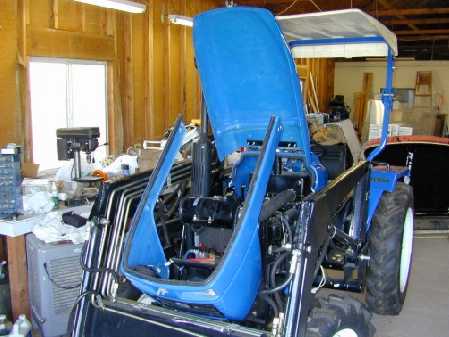
This project all began when I realized that getting to the engine was difficult because of the lower section of the hood which was permanently mounted to the frame. Even with the upper part of the hood raised, the lower portion was still in the way of certain things such as the battery. I decided to re-design the hood so that the lower part of the hood could pivot forward when the upper part was raised |
By Norm S |
Before |
After |
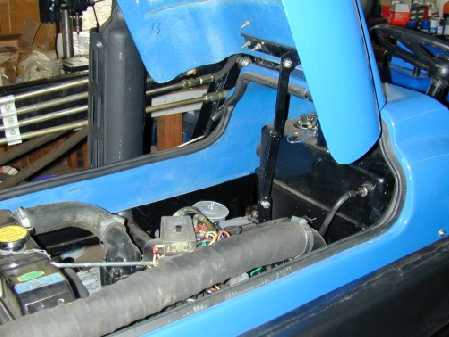
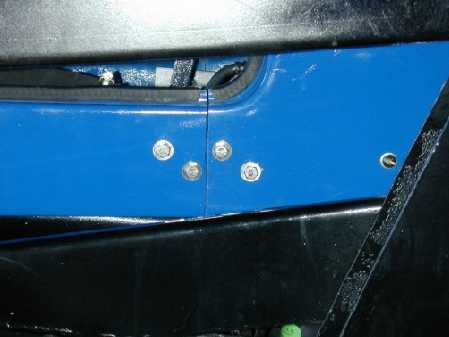
The first order of business was to make support brackets for the rear part of the hood. I made the brackets from 2" x 3/16" flat stock which I drilled and tapped. |

I then marked and drilled the appropriated size holes in both sides of the fiberglass hood. Once the holes were drilled and the bolts fitted, I marked the center and then cut the weatherstripping with a razor knife. I then made a vertical cut in fiberglass panels with a hacksaw blade. |
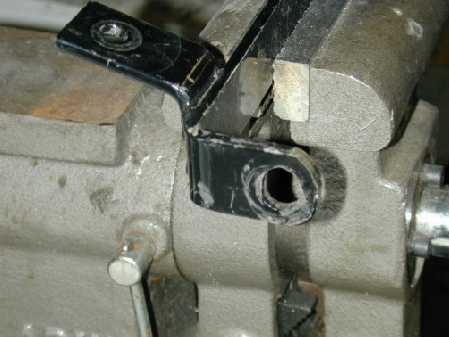
The next step was to remove the lower part of the hood from the tractor. I then removed the front mount from the hood and rounded off the ends where the mount bolts to the frame. This is necessary so that the mounting bracket can pivot on the frame allowing the hold to tilt forward. |
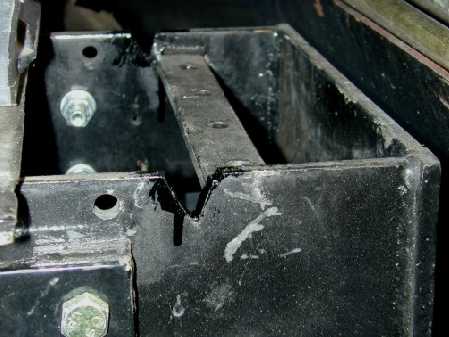
The only other necessary step is to notch and grind the front weight mount so that the hood will clear as it tilts forward. |
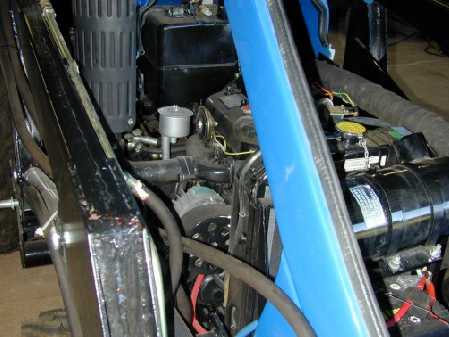
Once the weight bracket is notched and ground to clear the tilted hood, remount the hood. With the upper part raised and the lower part tilted forward there is ample room to reach all parts of the engine and the battery compartment. If the weight bracket still interferes with the tilted hood, more material can be ground away until the hood tilts to the desired point. Also, if necessary, the lower part of the hood can be removed completely by removing the forward mounting bolts (which also act as a pivot). I used 3/8" bolts with nylon lock nuts so that I could leave the bolts loose enough to act as pivots. |
This has been a huge help in accessing the engine compartment and battery bay for service, etc. It also allows for easy, one-man, removal of the hood lower for even easier access. Since the hood is now 3 pieces, I can remove the entire thing by myself if needed. It also allows me to move the rear portion containing the instruments for easy access to the rear of the instruments for wiring service, etc. I hope this idea is helpful to other owners with this type of hood. If you have any questions or comments, please email me [ranchsol@hotmail.com] NormS |