HYDRAULIC TANK BREATHER FILTER By Norm Solari |

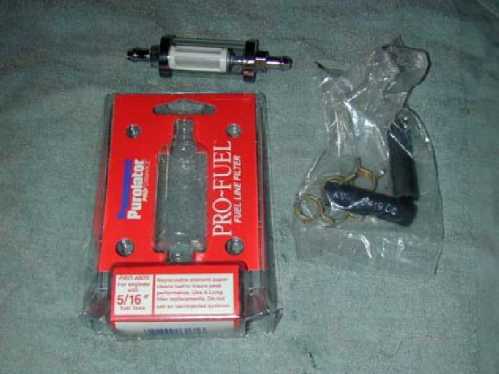
John S. recently expressed a thought to me that it might be advisable to have a breather filter on the hydraulic tank especially for tractors equipped with a FEL. As the FEL is raised, hydraulic fluid is pumped into the cylinders lowering the level in the tank. As a result, air is drawn into the tank through the vent to displace the volume of the fluid transferred to the cylinders. If this happens in dusty conditions, then dust could be drawn in contaminating the hydraulic fluid. Additional Note from JohnS: It might be a good idea to add a filter to the engine valve cover vent, to prevent dust from being drawn into the engine via the plastic hose. As with all of my projects, use of easily available parts and simple installations are the goal. Sometimes I end up using parts intended for other uses but they are easily obtained and work well for my purpose. For this project, I decided to use a "See through" fuel filter with a replaceable element. These filters pass air in both directions, are available from any auto supply store and can block very tiny particles. This particular one was manufactured by Purolator. The case separates so the element can be replaced and replacement filter elements are readily available. After measuring the diameter of the breather pipe, I determined that a 5/16 inch diameter hose would fit over it. I used a Purolator PRO #805 filter kit which included two short lengths of 5/16 inch hose and clamps. |
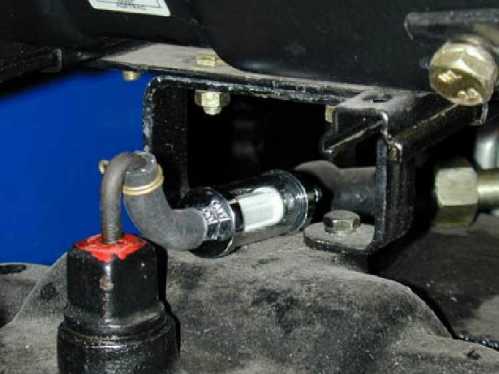
Installation is very easy. I used one the hoses that came with the kit and clamped it onto the breather pipe. I then connected the filter to the other end of the hose. The filter housing is marked with an "In" and "Out" on either end. Mount the connecting hose to the "Out" side. The pipe marked "In" should be used for the air intake side. This directs the incoming air to the outside of the filter element. This is important because the outside of the element is visible through the glass casing so it will be easy to tell when the element needs to be replaced. I placed the filter under the seat because it is out of harm's way there plus, I felt that there would be less potential contaminants drawn in from that area. |
This project took about 10 minutes to complete. Of course there are other types of filters out there including some designed specifically for motorcycles that are sexier looking and there are also ways of making a filter from scratch, However the system I used is inexpensive (About 10 bucks), easily obtained, easy to install and easy to service. The installation took about as long as it takes to open a beer and take a couple of sips. The rest of the beer can be consumed while standing around enjoying the results of the work. :O) If there are any questions or comments, feel free to email me at ranchsol@hotmail.com Norm S |